
How to Add Images and Make The Images Clickable On Your League Page
This Tutorial is about How to Add Images and Make The Images Clickable On Your League Page.
1. Login to Your Photobucket Account

Click Here to go to Photobucket and Login. Now upload all your images that you want to have on your League page to your Photobucket account and then log out.
2. Login to Your Admin Centre
Now Login to your Admin Centre.
3. Edit Modules
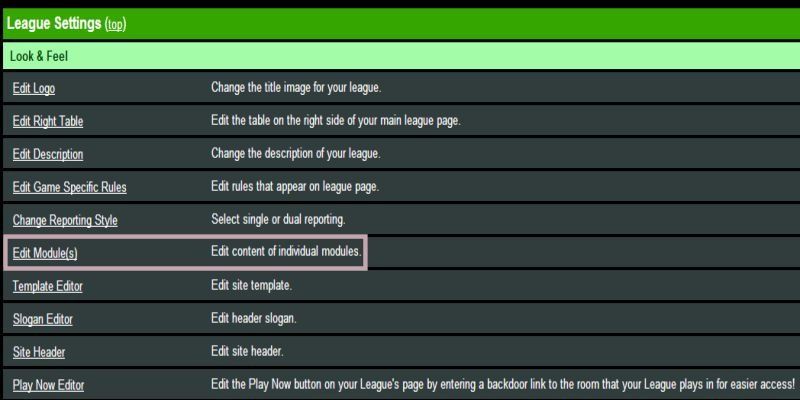
Now look for Edit Modules and click on it.
4. Front Page Top Right

Now look for Front Page Right Top and click on it. Please remember You can put images anywhere on your league page and make them clickable. I am only using Front Page Top Right for this Tutorial.
5. HTML Editor - Part 1
Now click anywhere on preview of your League page to activate the editor.
6. HTML Editor - Part 2
Now you will need click the area you want your image to go and you should see a cursor flashing or you can click on the image you want to replace and hit back space once.
7. HTML Editor - Part 3

Now on your toolbar look for Insert/Modify Image.
8. Opening Up Photobucket

Now click on Insert/Modify Image and this will open a new window.
9. Login to Your Photobucket Account

Now type in your Photobucket Login details and click on Login.
10. Your Library Folder

Now you should see your Library folder.
11. How to Look For A Folder On Photobucket

If you have made up a folder for the images you have uploaded to Photobucket then you will need to look for it and select that folder.
12. Image URL - Part 1

Right now once you have found the image you want you will need to click on it and highlight the URL by dragging you mouse inside the URL box. Also you will see a small blue box around the image so you know if it the correct image or not.
13. Image URL - Part 2

Now right click on your mouse and then click on Copy. Now you will need to click in the box named Image URL and paste the URL and then click on OK. You can preview the image once you have pasted the URL in by clicking on Preview.
14. Image Is In Place

Now the image should be in place and highlighted blue.
15. Insert Web Link - Part 1
Now on your toolbar look for Insert Web Link and click on it.
16. Insert Web Link - Part 2

Now a new window should have open up.
17. Copying and Pasting URL

Now Copy the URL and then Paste it in the box named URL.
18. Placing A Tooltip

Now type in a title (Tooltip). For Example: Admin Login. This is opional so you don´t have to do it.
19. Making The Link Open Up In A New Window or Tab

Now you will need to do the target as New Window (_blank) and then click on OK. This is optional you don´t have to do it if you don´t want too.
20. Save Your Changes

Now save your work by clicking on Save.